10” Electric Drum Brakes are suited to trailers up to 3500kg that carry varying loads or run empty often as the controllers that run them are adjustable to suit whatever load is carried.
For added stopping power Trailparts have 3 sizes of Hydraulic Drums 9”, 10” and 12”. For trailers up to 3500kg hydaulic drums can be run with either the Credo Electric/Hydraulic or the Hygo mkII Hydraulic Over-ride.
Trailparts™ Drum Hub Kits are renowned for their reliability. Comprised of only the best quality components such as zinc plated drum and high quality taper bearings, this ensures our customers have complete peace of mind. Parts are readily available throughout the country from automotive spares re-sellers.
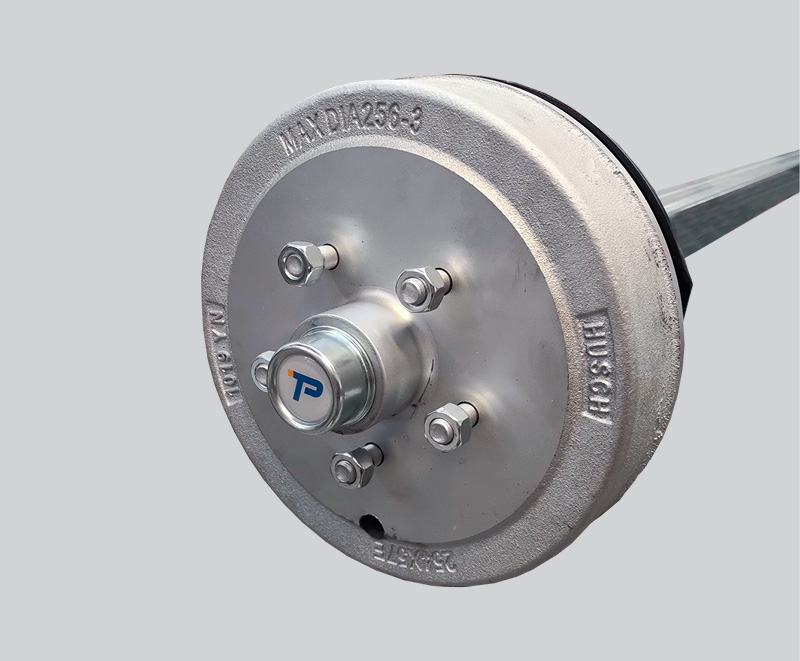
Drum Brake Installation Guide
Tool Kit
- Hammer / Mallet
- Seal Driver*
- Adjustable Wrench
- Pliers
- Workshop Gloves or Bearing Packer
*If you do not have a seal driver, a flat off-cut of wood will work fine.

➊
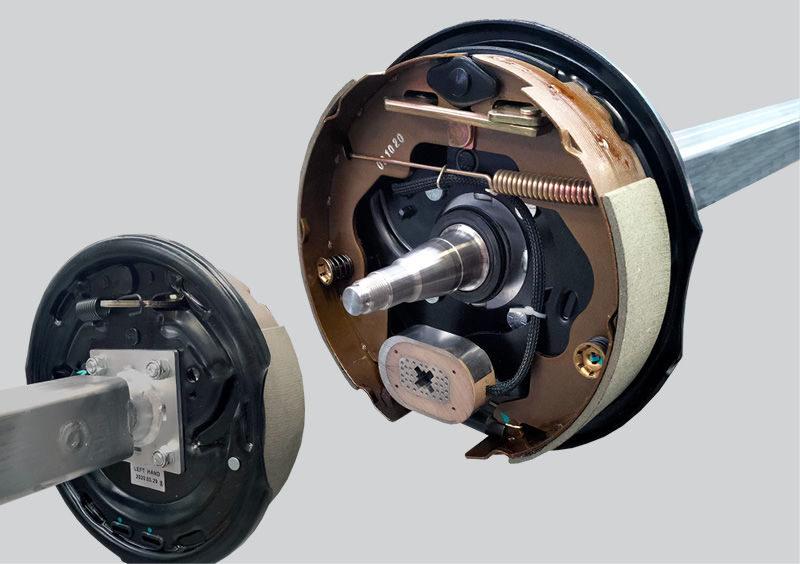
Fit hub backplate:
- Fit the backplate to the hub flange with the ‘magnet’ (Electric) at the bottom or ‘wheel cylinder’ (Hydraulic) at the top.
- Fully tighten the four nyloc nuts to fasten the backplate.
➋
Fit inner bearing to hub:
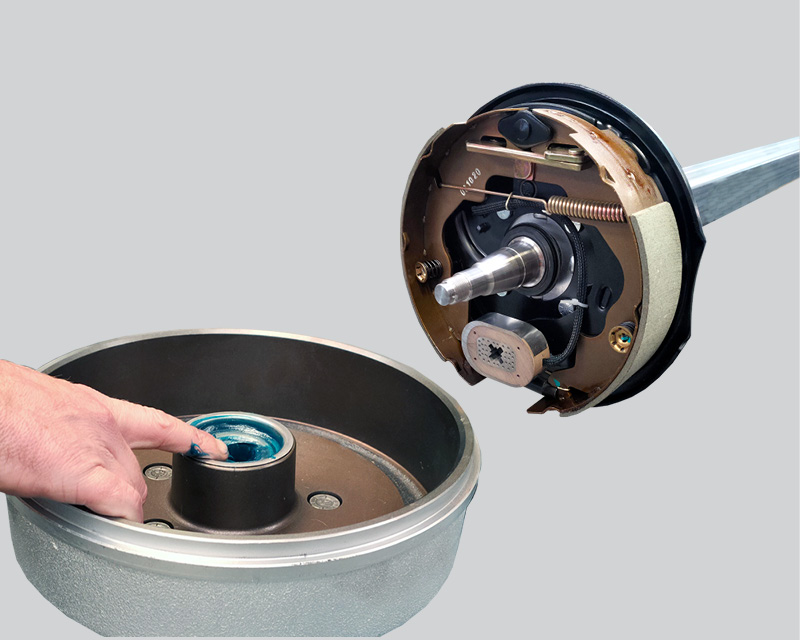
- Grease up the inside of the hub. Pack a layer of grease around the bearing cup our first bearing will rest against.
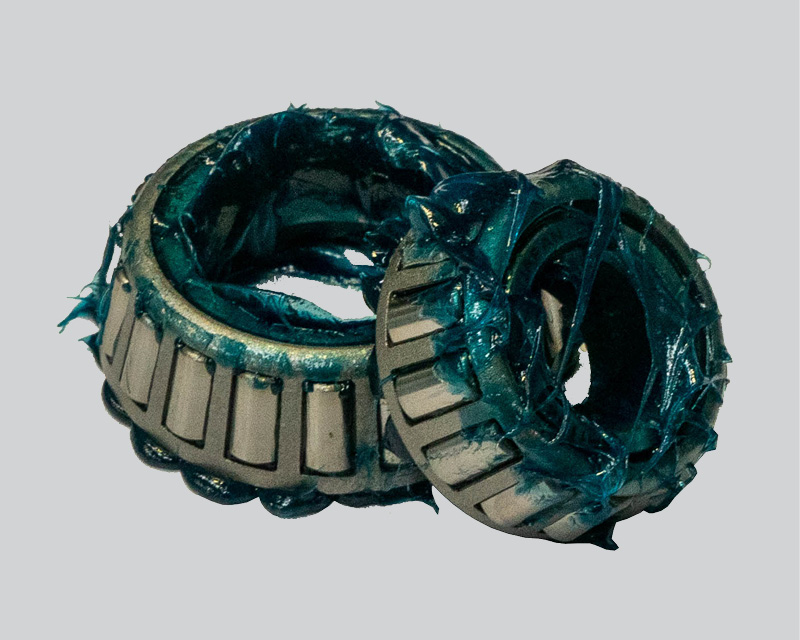
- Pack bearings with grease. If you do not have a bearing packer, use workshop gloves. Start by putting a bit of grease in the palm of your hand. Take the bearing and roll it in your palm to pack the grease inside the open edge found on the front and back.
* If you have done this right you should see grease push out from inside the bearings. - The bearing is tapered small side in, large side out. Insert the bearing with the small side facing in toward the greased hub.
➌
Fit marine seal & retaining washer:
- Slide Retaining Washer followed by Seal onto the axle stub.
- Sit the Marine Seal Cup on the back of the hub with the flat side facing the bearing. If you do not have a seal driver, use a flat piece of timber. Slowly drive the seal cup flush with the hub using small taps with a hammer. Be sure to keep seal flat.
- Grease the Rubber Seal and slide onto the axle stub. Be sure the fins are facing away from the Seal Retaining Washer.
➍
Fit marine seal & retaining washer:
- Slide Retaining Washer followed by Seal onto the axle stub.
- Sit the Marine Seal Cup on the back of the hub with the flat side facing the bearing. If you do not have a seal driver, use a flat piece of timber. Slowly drive the seal cup flush with the hub using small taps with a hammer. Be sure to keep seal flat.
- Grease the Rubber Seal and slide onto the axle stub. Be sure the fins are facing away from the Seal Retaining Washer.
➎
Outer bearing:
- Following the same process as the first bearing we will grease up the smaller bearing to be inserted over the tread with the smaller edge facing in toward the hub.
- This can now be capped with the washer.
➏
Washer, Castle nut and pin:
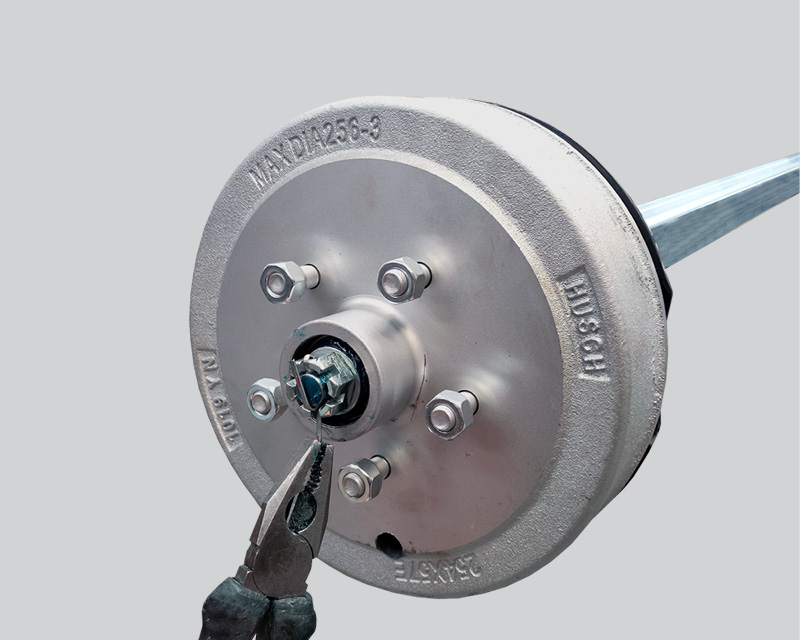
- Twist on castle nut using your adjustable wrench until firm and give the hub a full turn to ensure bearing placement. Back off the nut then tighten again by hand. Use the wrench again to tighten the nut until firm, align the predrilled hole on the axle stub and Castle nut.
- Push the split pin through the hole as seen to the right.
- Bend the ends of the pin over using pliers.
➐
Dust cap:
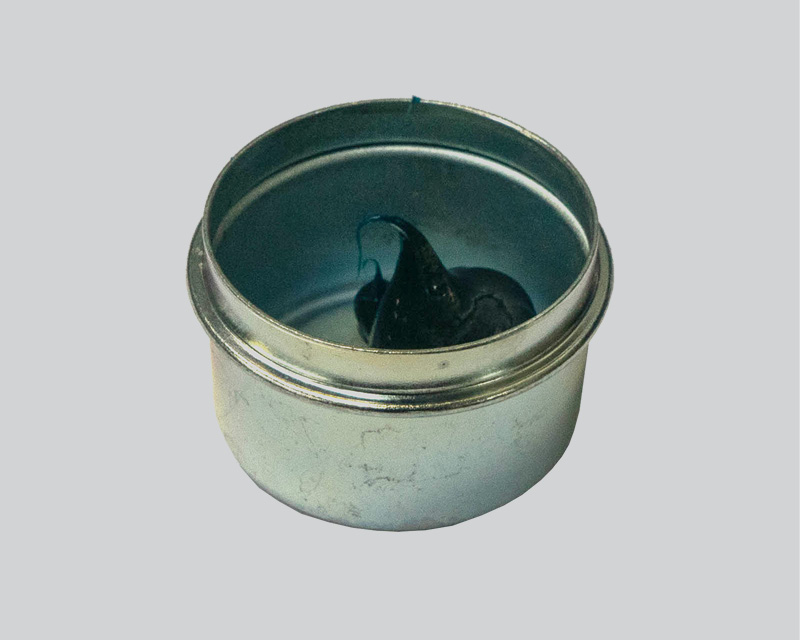
- Put a dollop (roughly 1 teaspoon) of grease inside the dust cap.
- Use a flat piece of timber to tap on the dust cap without damage. Keep the dust cap straight.
➊
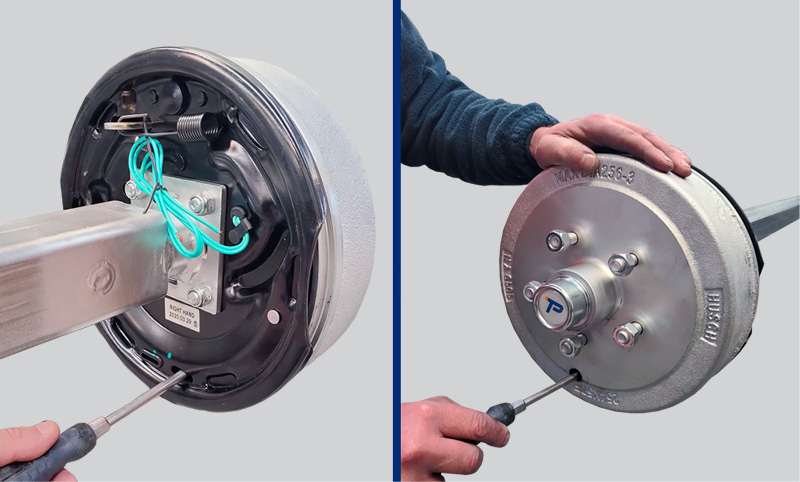
Adjust the brake:
- Put a flat head screw driver through the slot in the rear of the hub and tighten the adjuster until the hub will not turn. For dropper axles this will be done from the front adjustment hole.
- Loosen of the adjustment until the shoes release and the hub moves freely. Approx. 4-6 clicks. (match all wheels)
Please Note: Do not loosen the adjustment too much.
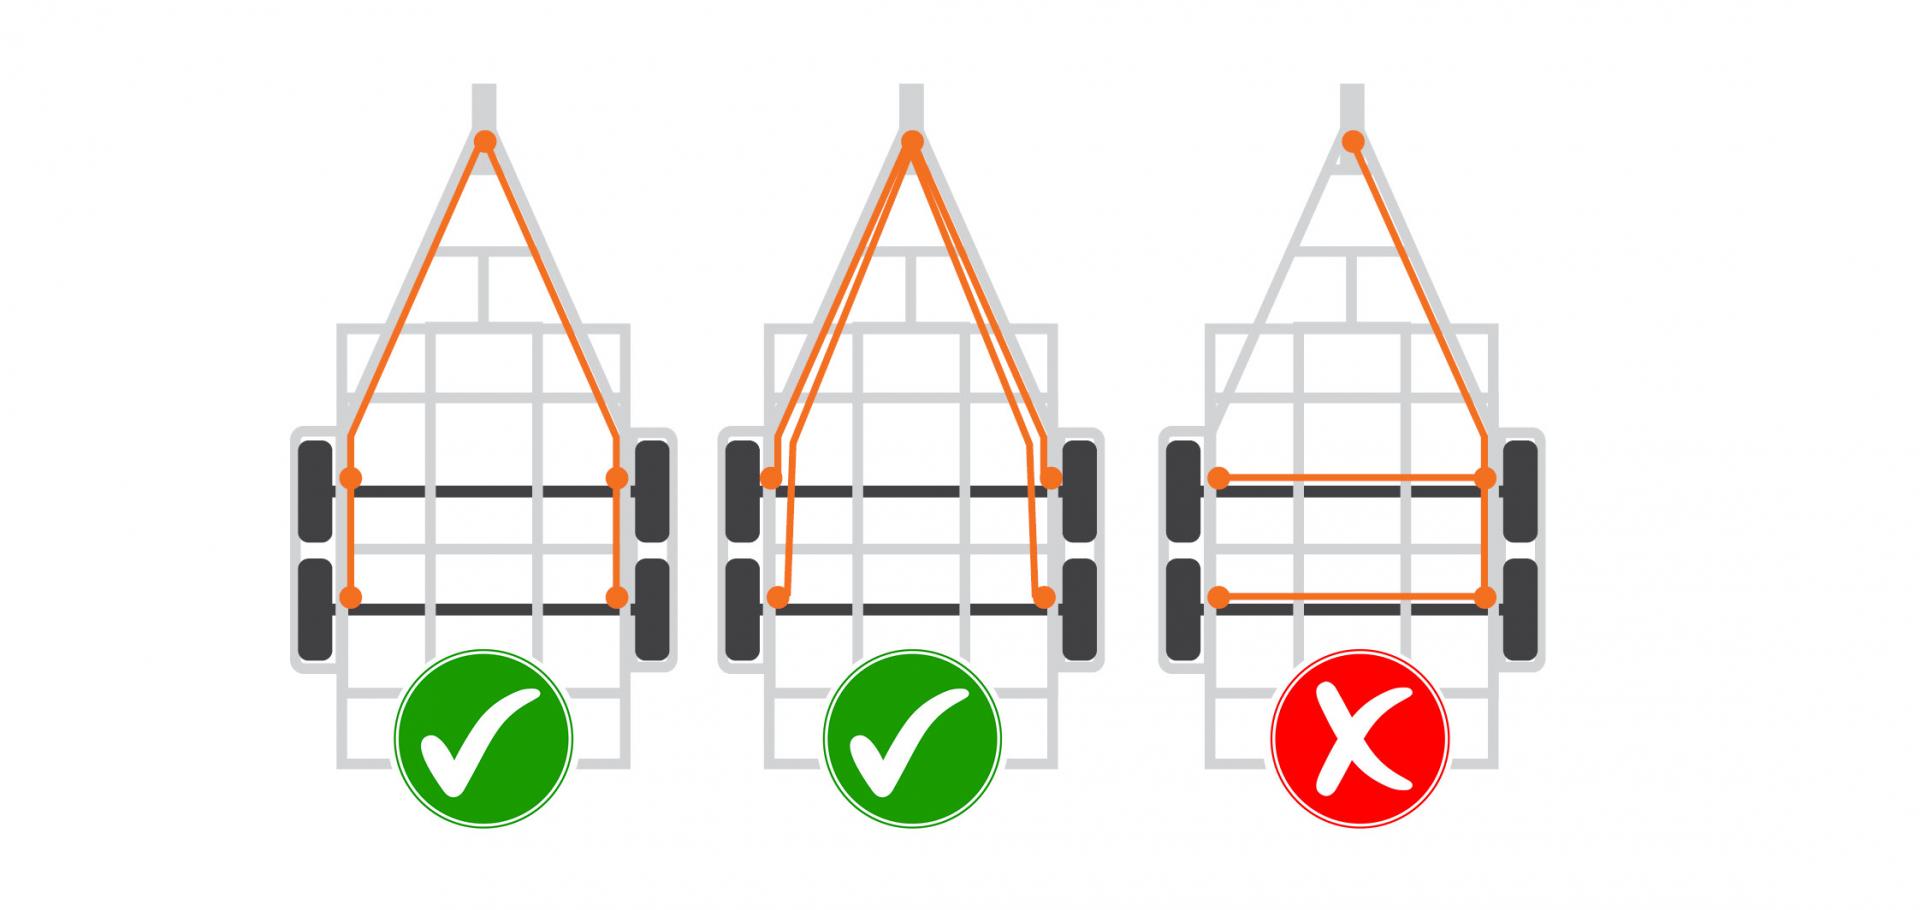
Electric Brake Wiring Diagrams
